
With the Sessionboard, intermediate and final results can be documented effortlessly with screenshots. The collected screenshots can then be downloaded collectively immediately after the Session and made available to all participants.
In this article you will learn more about:
Taking screenshots
- Arrange all contents of a Phase clearly on the Workspace.
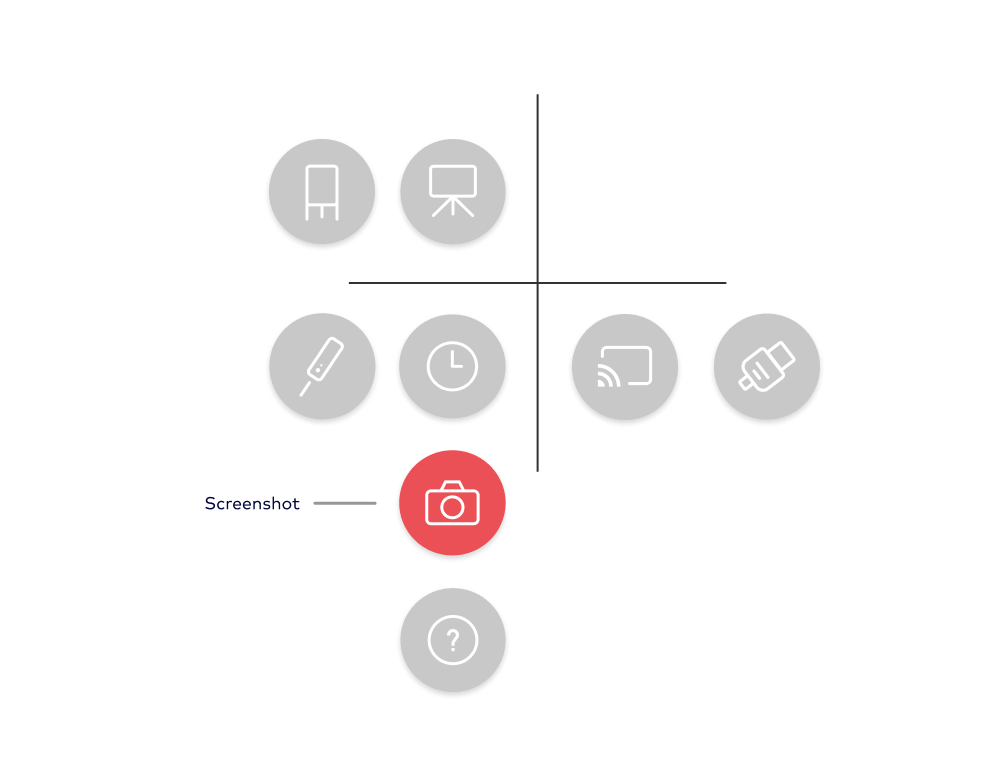
- Open the Main Menu on the Workspace (by tapping a grid cross).
- Trigger the screenshot with the "Screenshot" button. The screenshot is visualized by a short flash of the screen.
- Repeat the process for all intermediate states and Phases to be documented.
Downloading screenshots
To begin with: End the current Session by tapping on the "Close Session" button in the Session Menu (upper left corner of the Workspace).
-
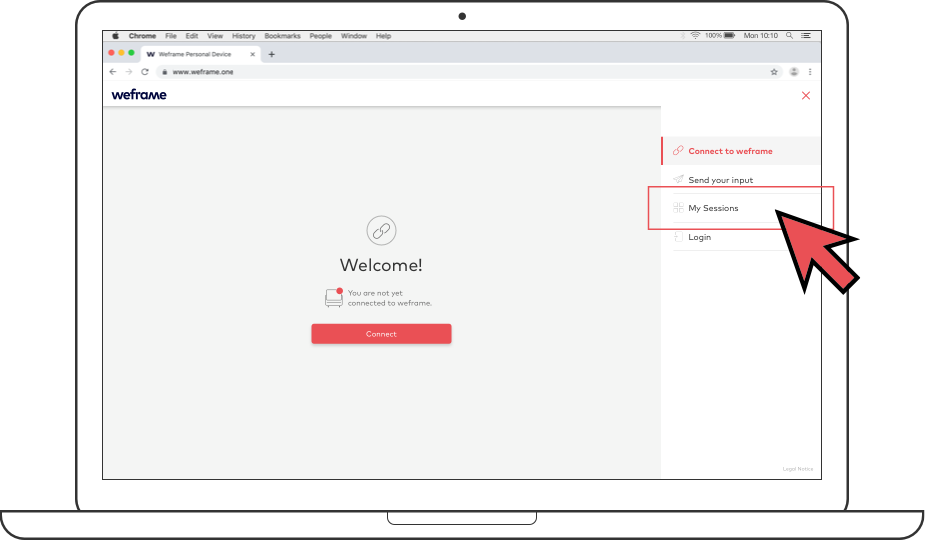
Open cannyboard in your browser and click on the "My Sessions" section in the burger menu (top right).
-
Click on the three-point menu "Manage Sessions" in the upper right corner of the corresponding Session and select the item "Screenshots". This button is only available if screenshots have already been taken of the Session.

-
The download starts directly and automatically without further confirmation. The progress of the download can be viewed in the download window of your browser.
-
The screenshots are now saved as a folder in zip format on your device. You can find the storage location in your browser settings.
-
You can now make the folder available to your participants, e.g. by making it accessible on a (cloud) server or by sending it directly to all participants by email.
Comments
0 comments
Please sign in to leave a comment.